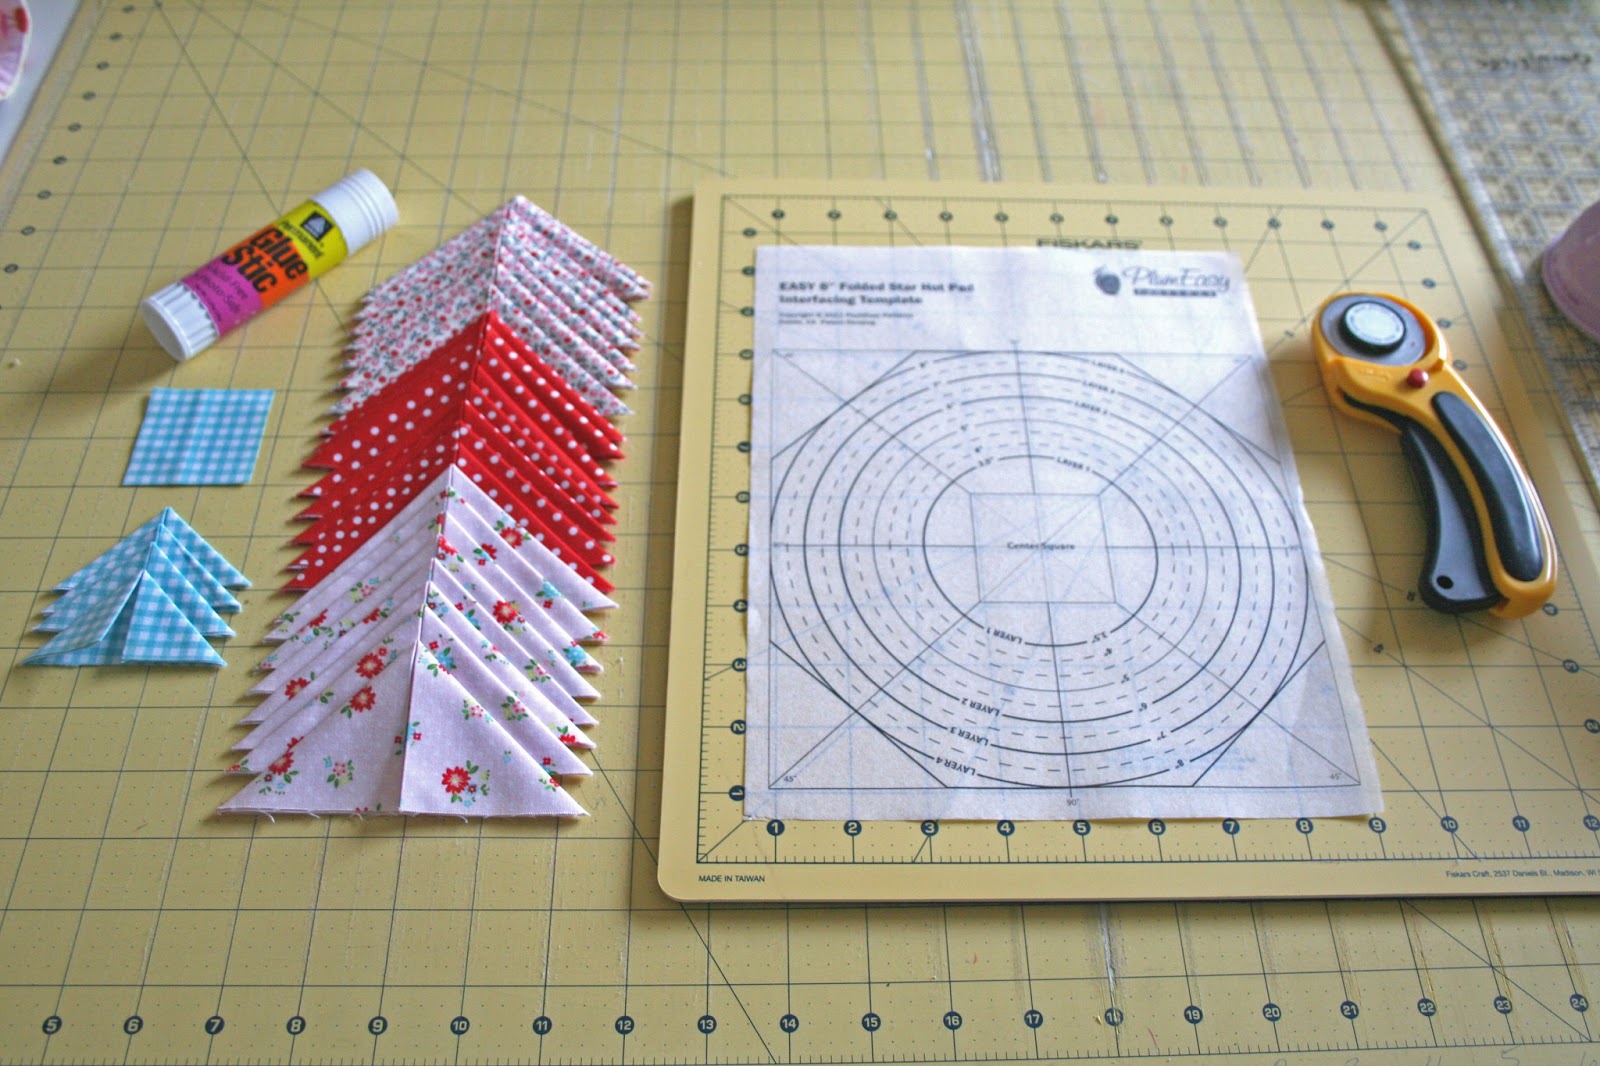
Here is what you need~
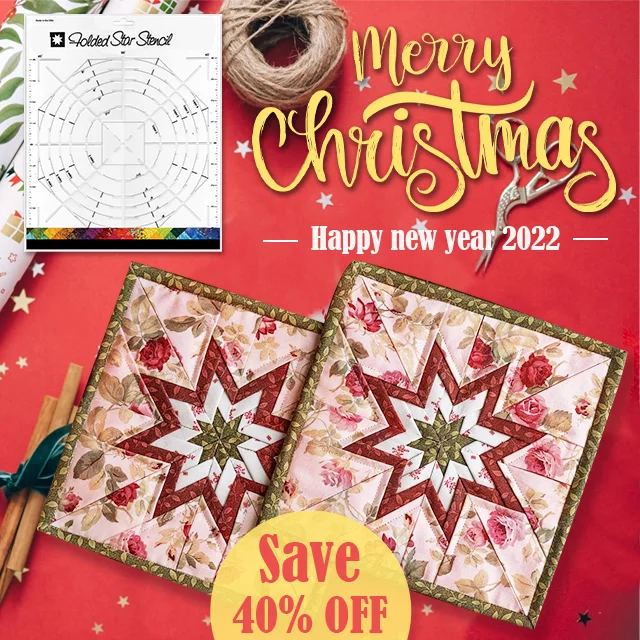
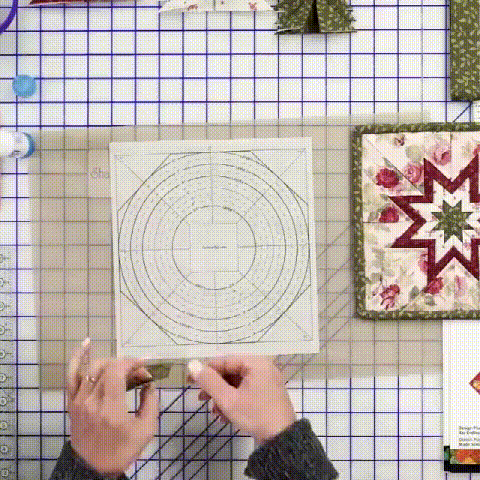
Plum Easy Folded Star Pattern and Template (the pattern comes with 1 template, and you can also get packs of 3 templates)
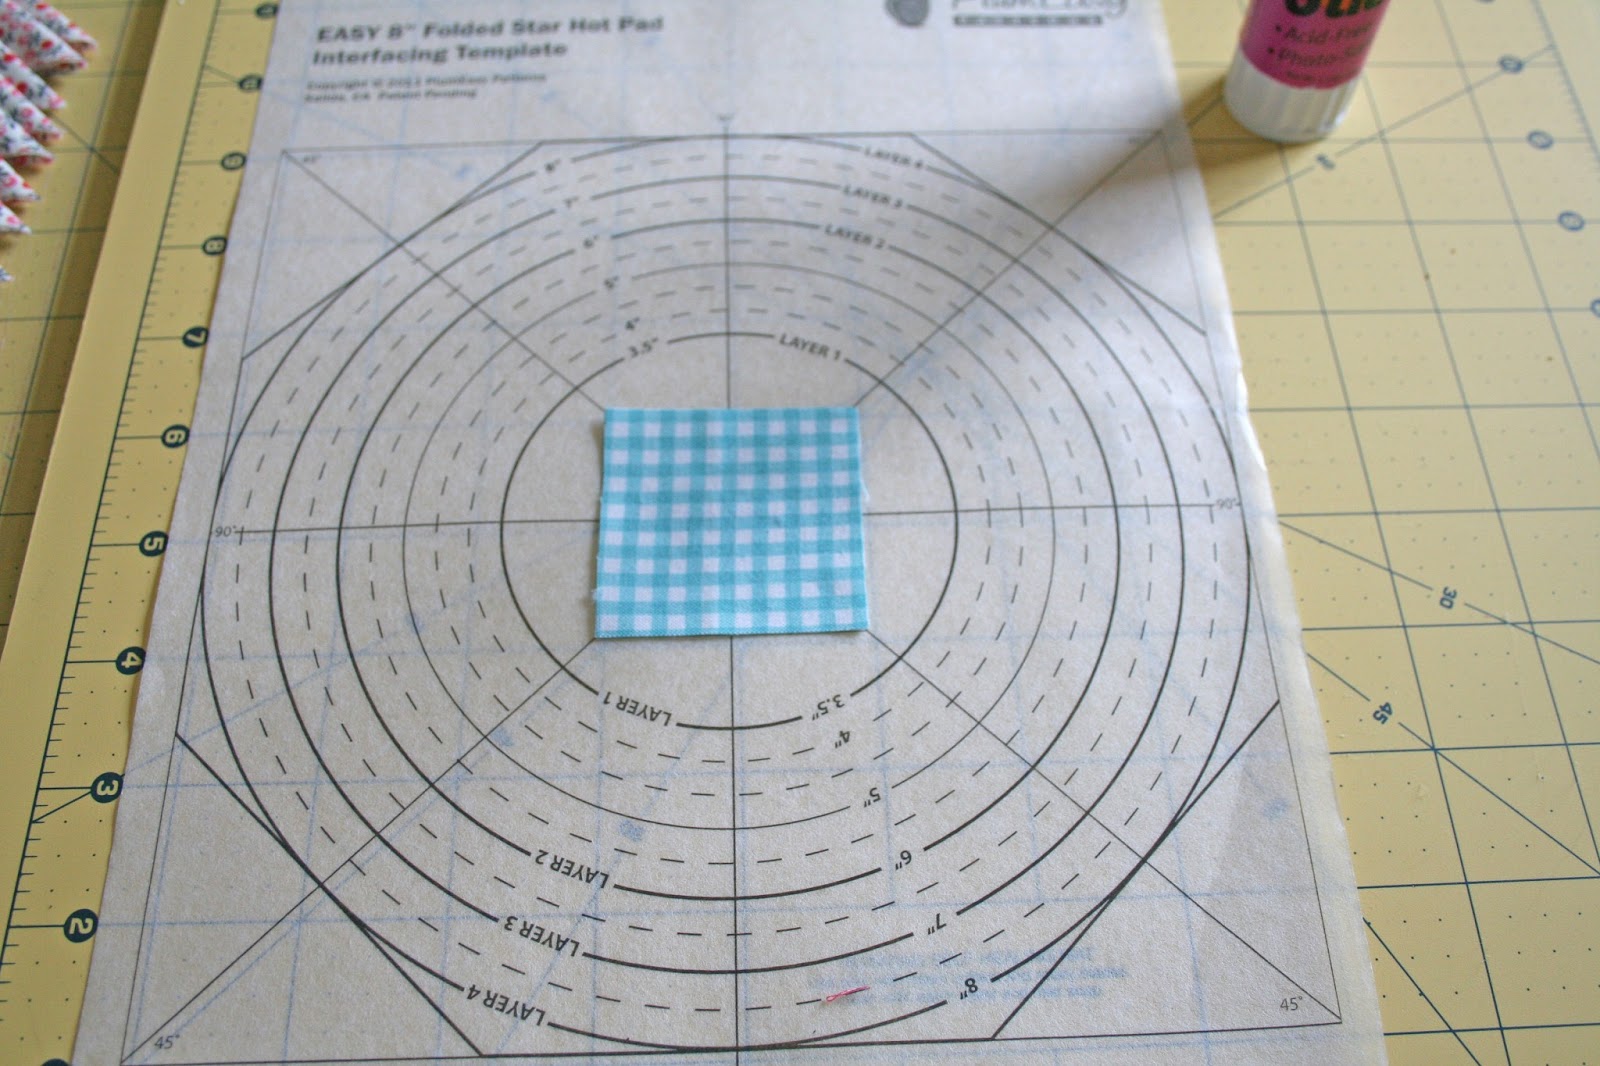
1 small square
4 small dark colored squares turned into prairie points
8 large light colored squares turned into prairie points
8 large dark colored squares turned into prairie points
8 large light colored squares turned into prairie points
glue stick
rotary cutter and ruler
steam iron (for making the prairie points)
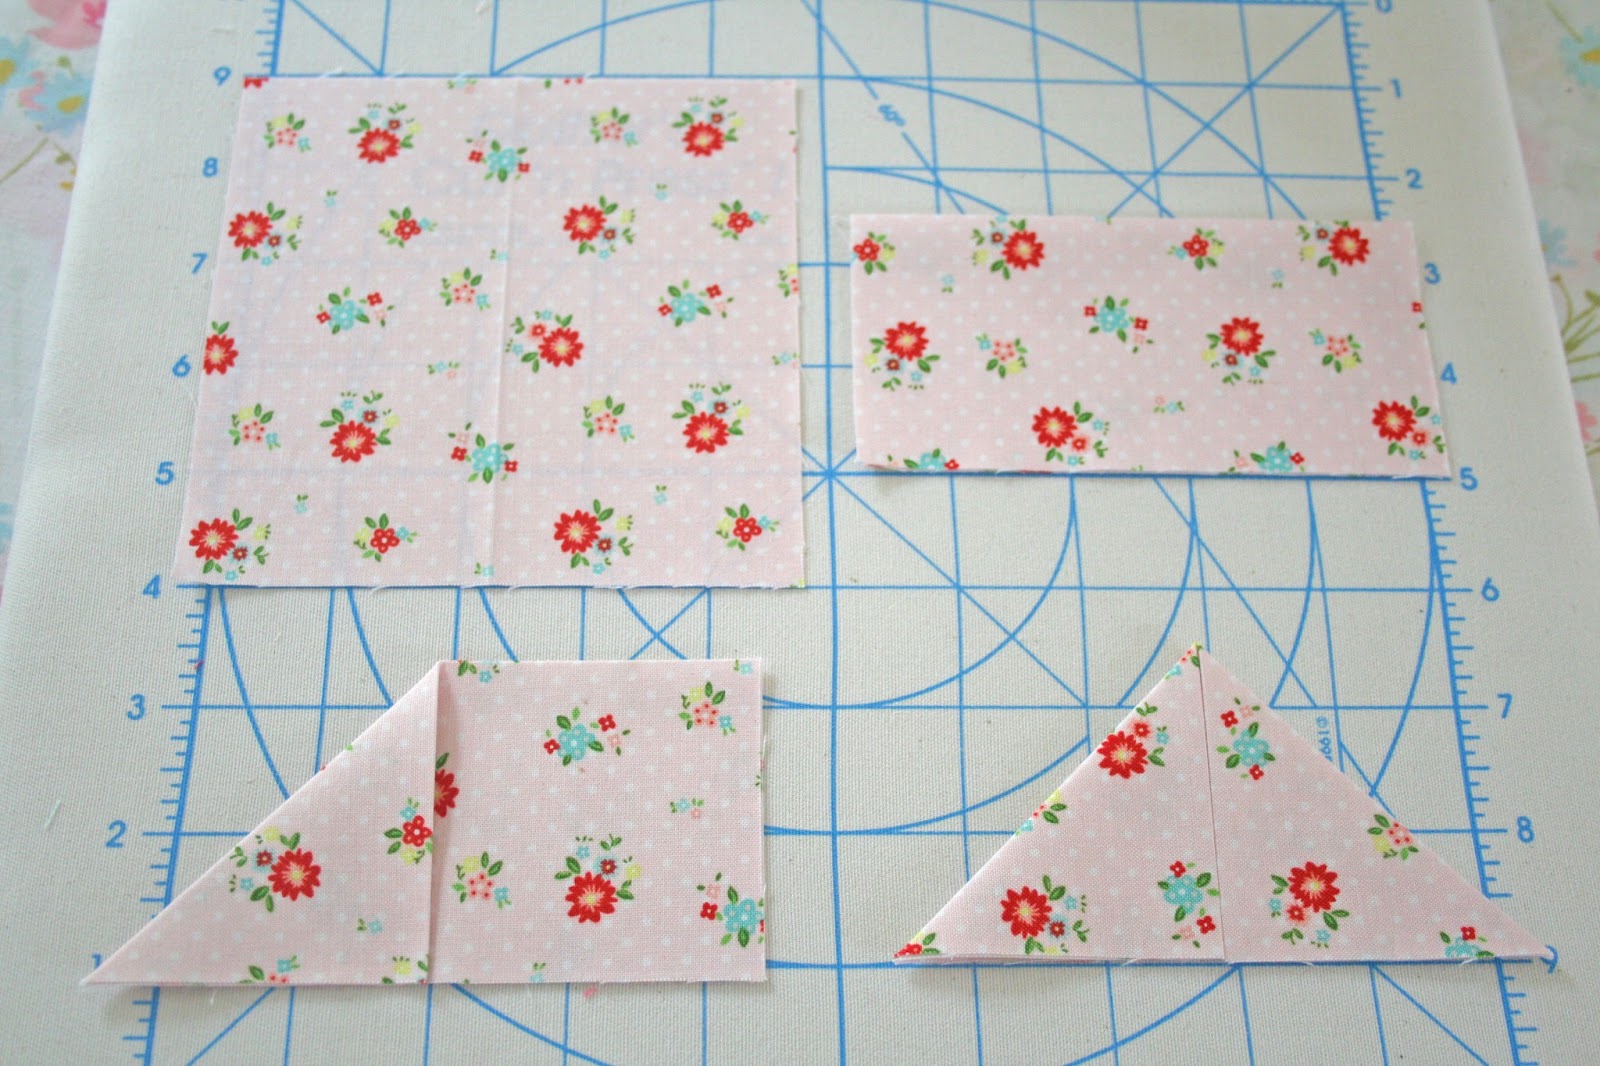
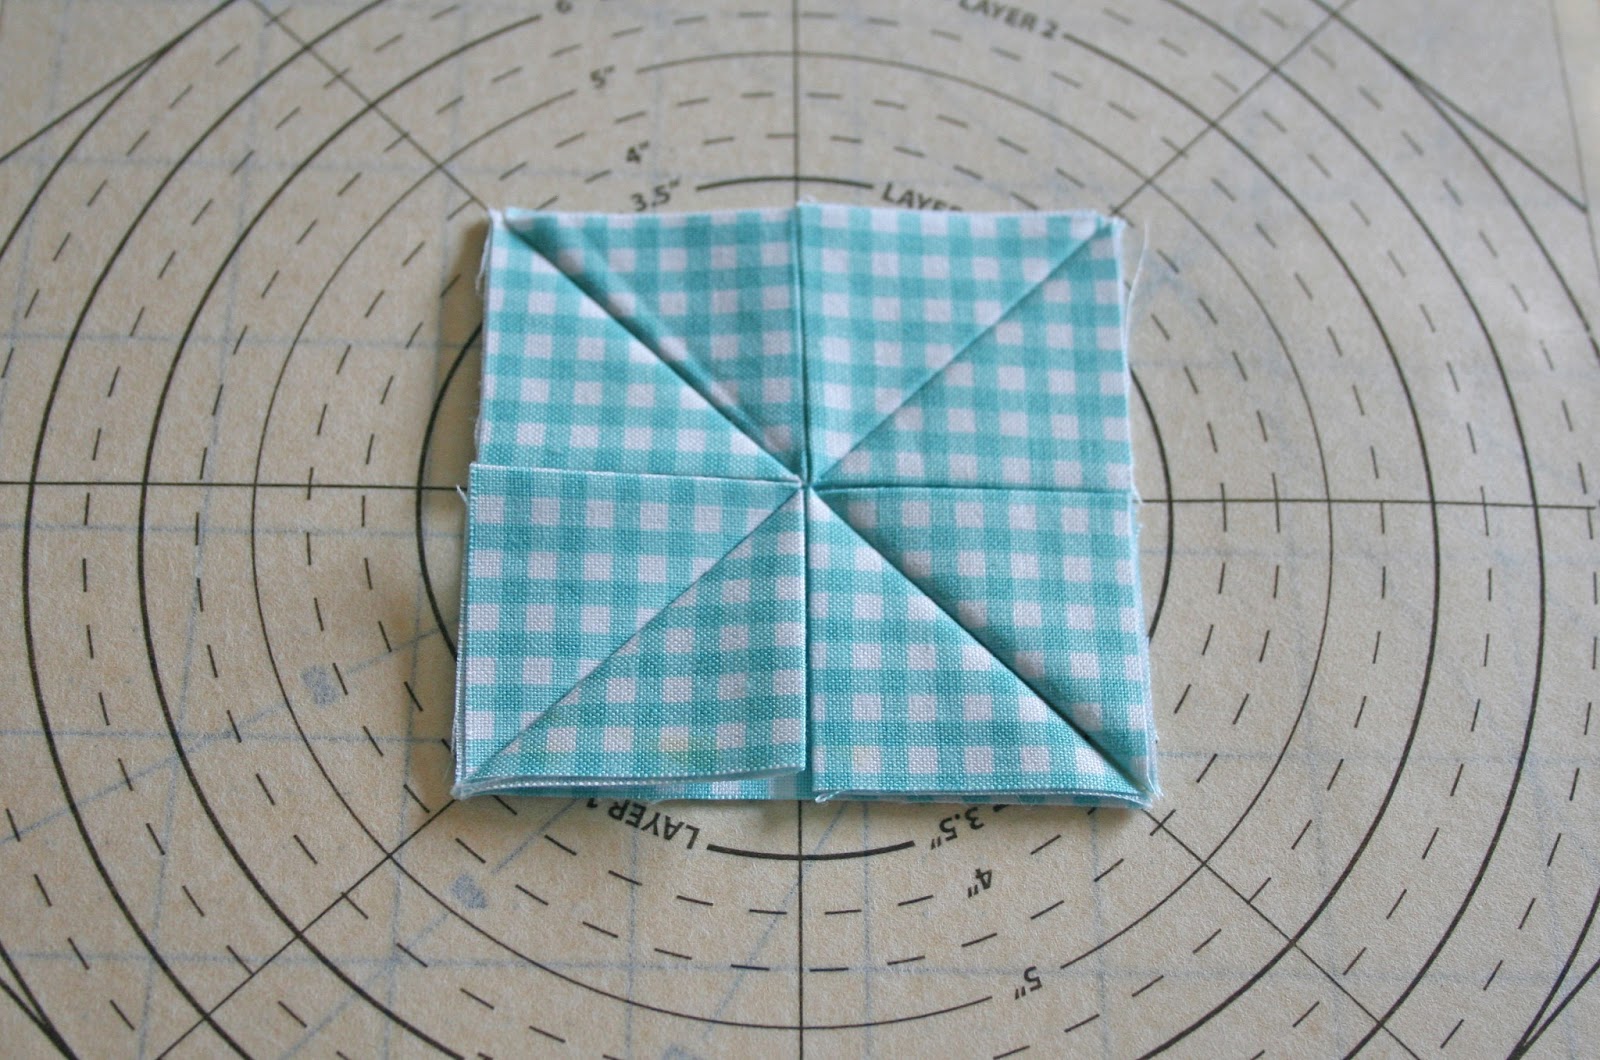
To make the prairie points fold it in half once, wrong sides together and press. Then fold the two corners to the middle and press with steam so it stays in place.
Add a little glue to the wrong side of small square and place in the middle square section of he pattern.
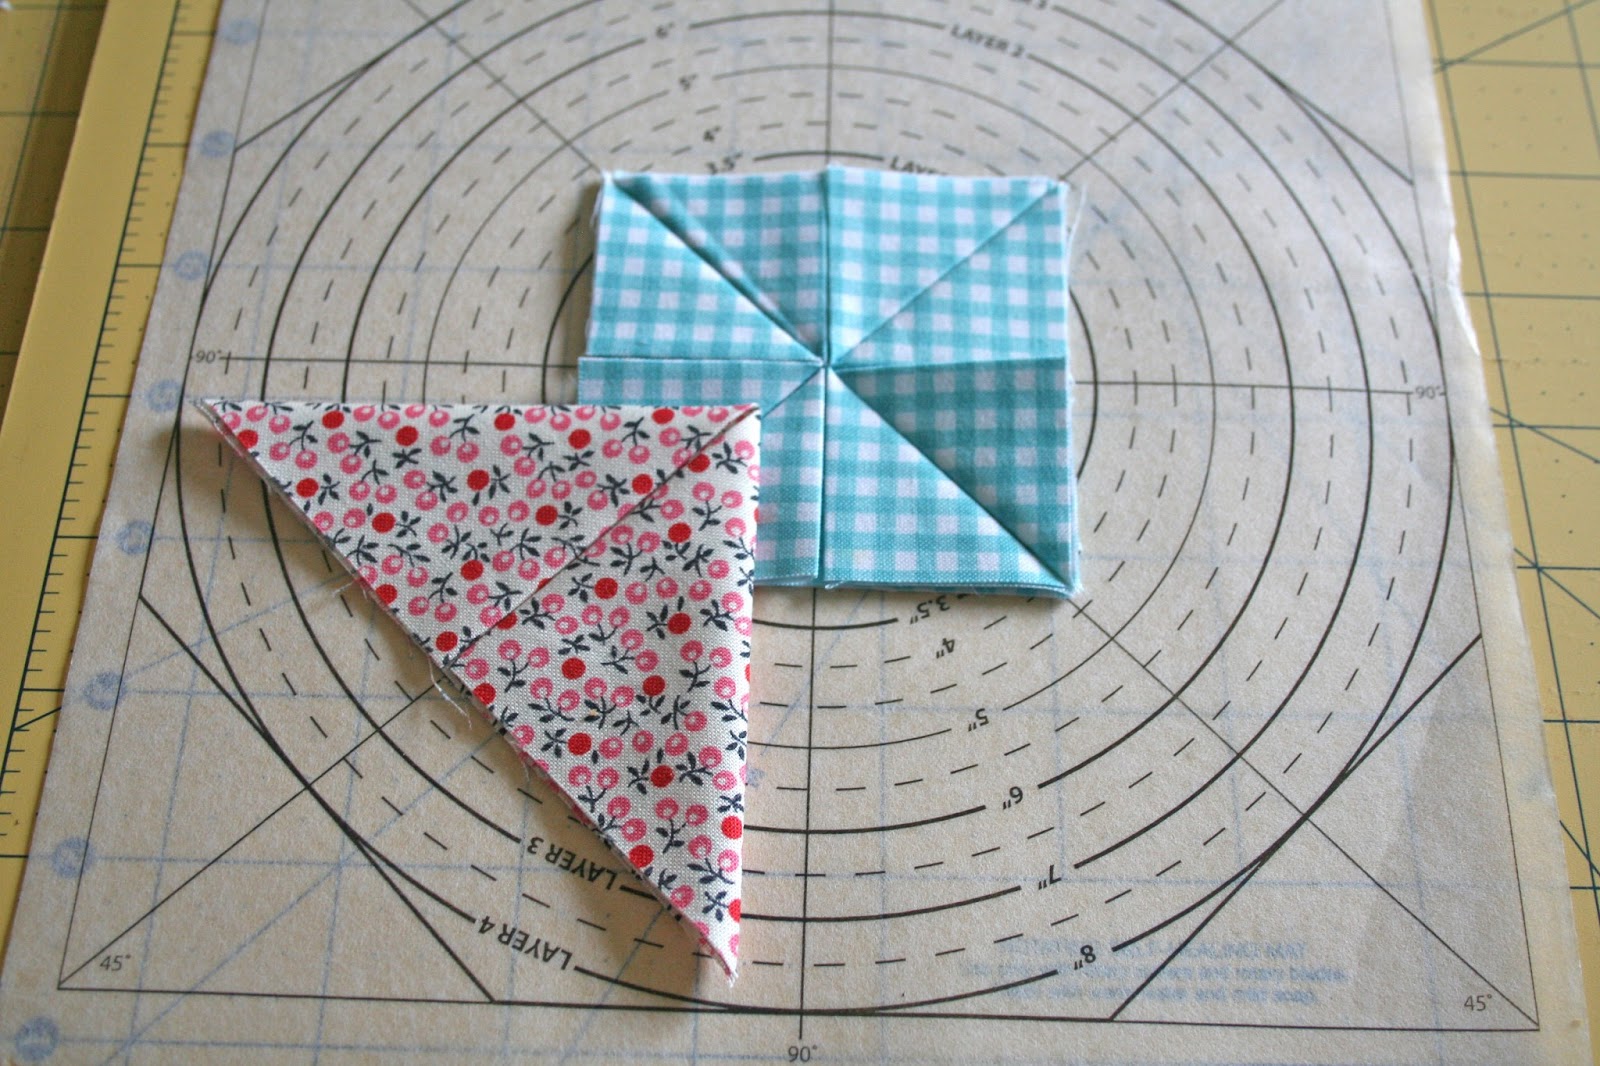
Add a little glue to the back side corner of the small prairie point.
Set in place in between the 45% angle lines (you can move and adjust if you need).
Continue with the 3 other small prairie points by adding glue to the back side corners and then setting in place.
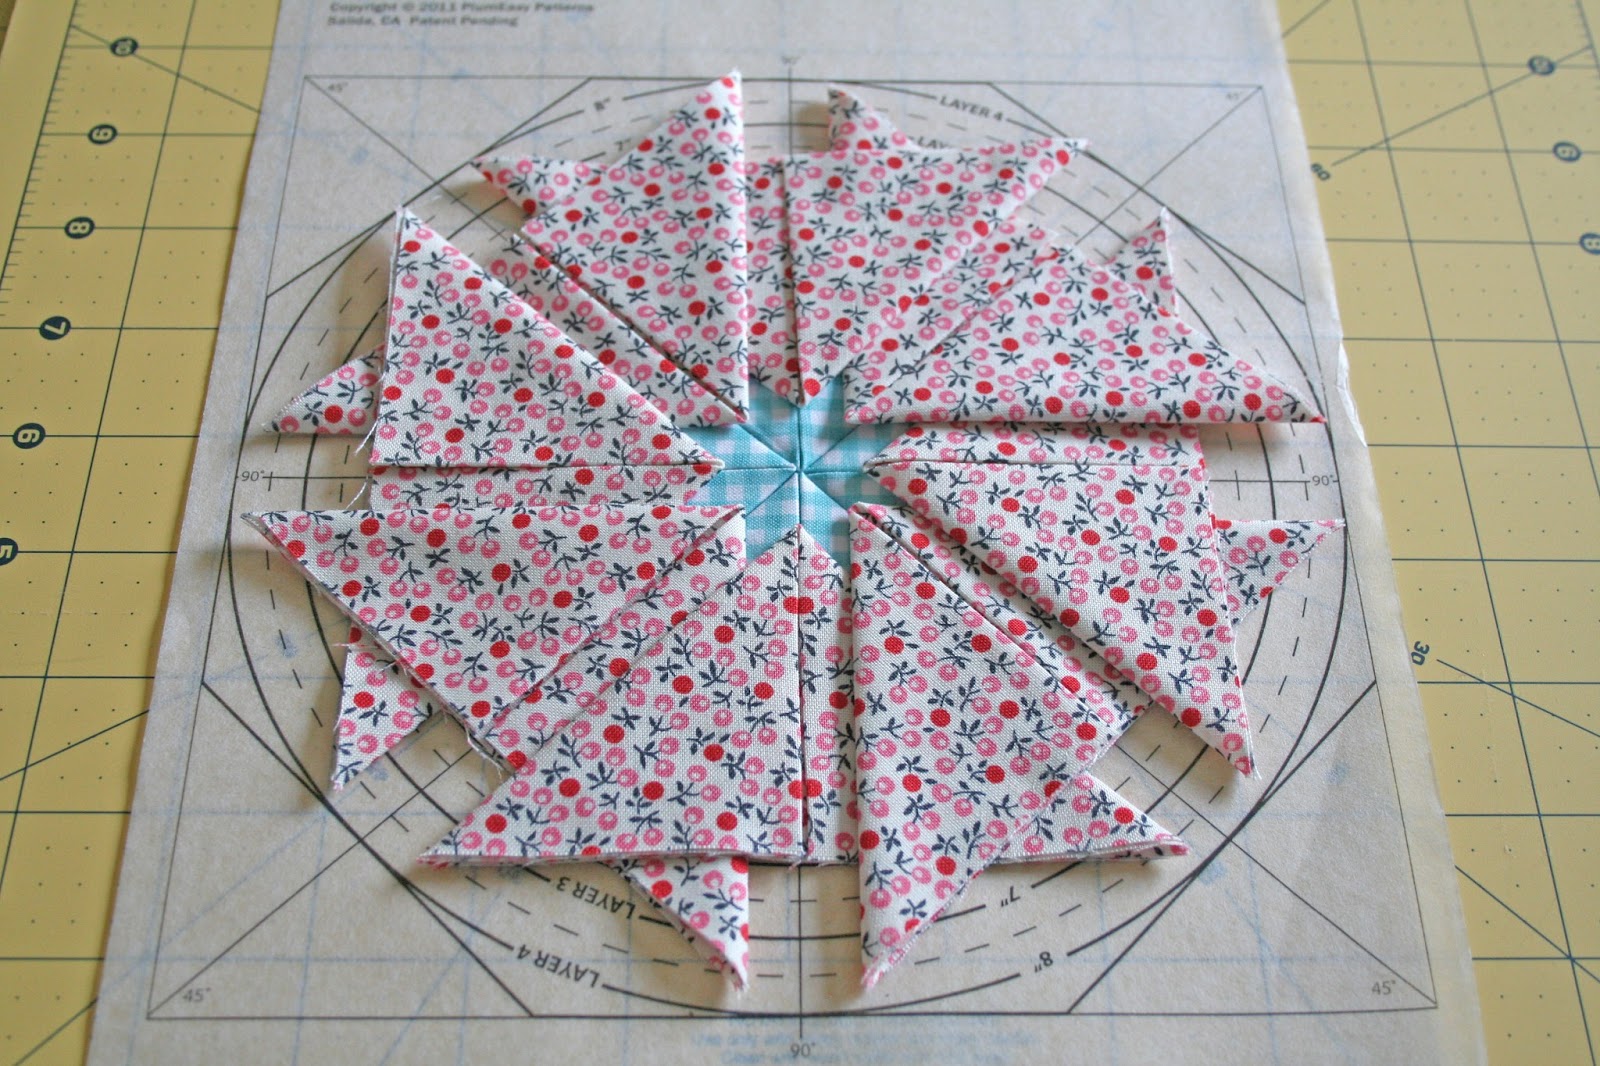
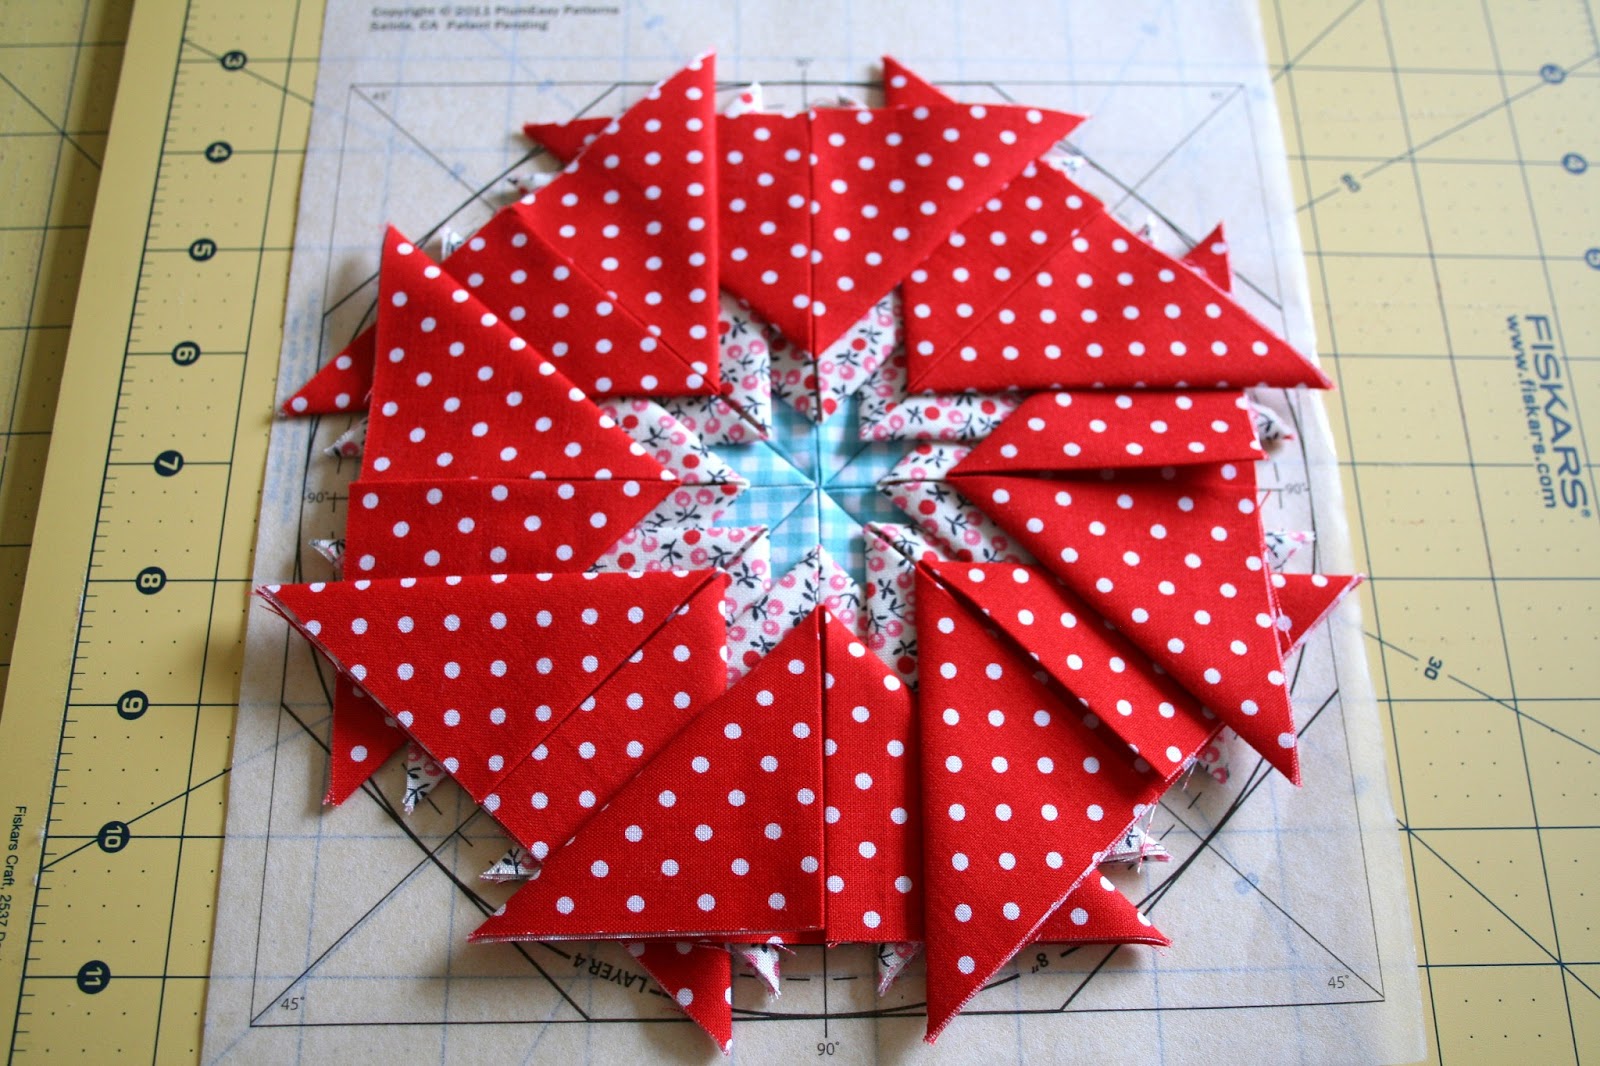
Now for layer number 2. Add some glue on the back side of one of your light large prairie points.
Place the first one on the layer 2 line on the 45 degree angle line.
Add some glue to the second prairie point and place it on the layer 2 line and the 90 degree angle line.
Continue adding glue to the corners of your prairie points and place around the circle as pictured above.
For Layer number 3, start in the same place as you did with layer number 2 and continue going around the circle adding all the prairie points.
Add layer number 4 the same way you added layer number 2 and 3.
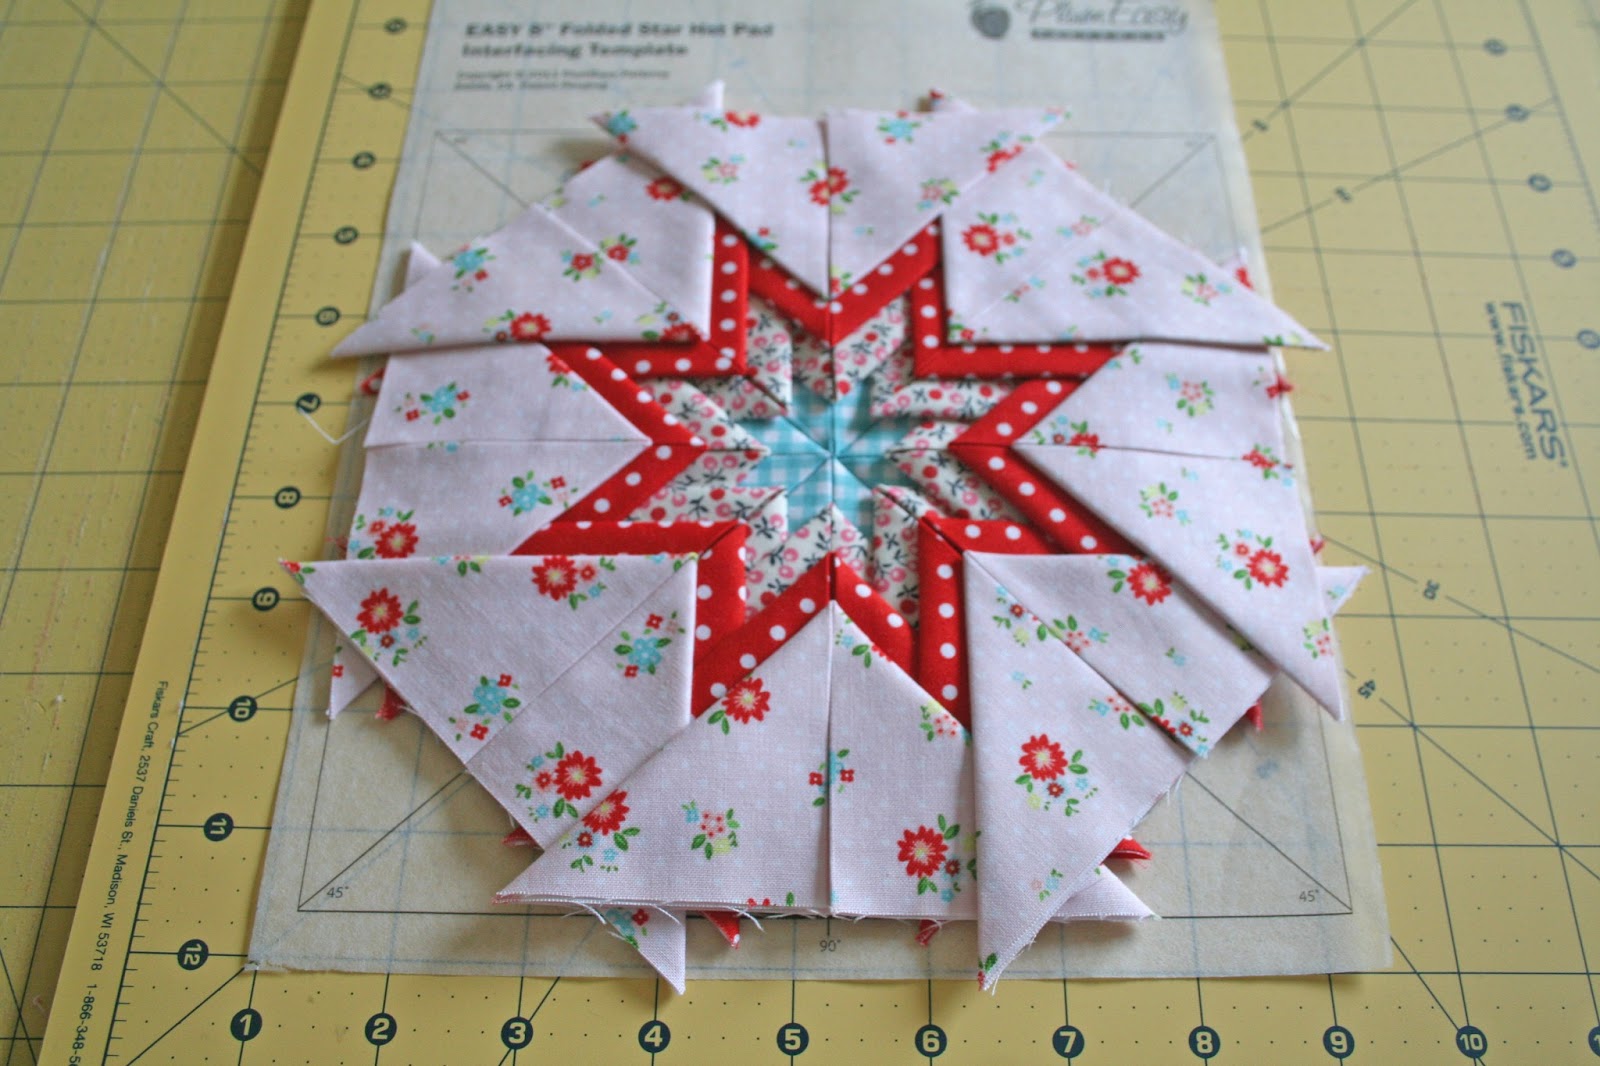
After you have all your layers in place take it over to the machine and top stitch by stitching in the ditch.
Top stitch each section of your 8 points.
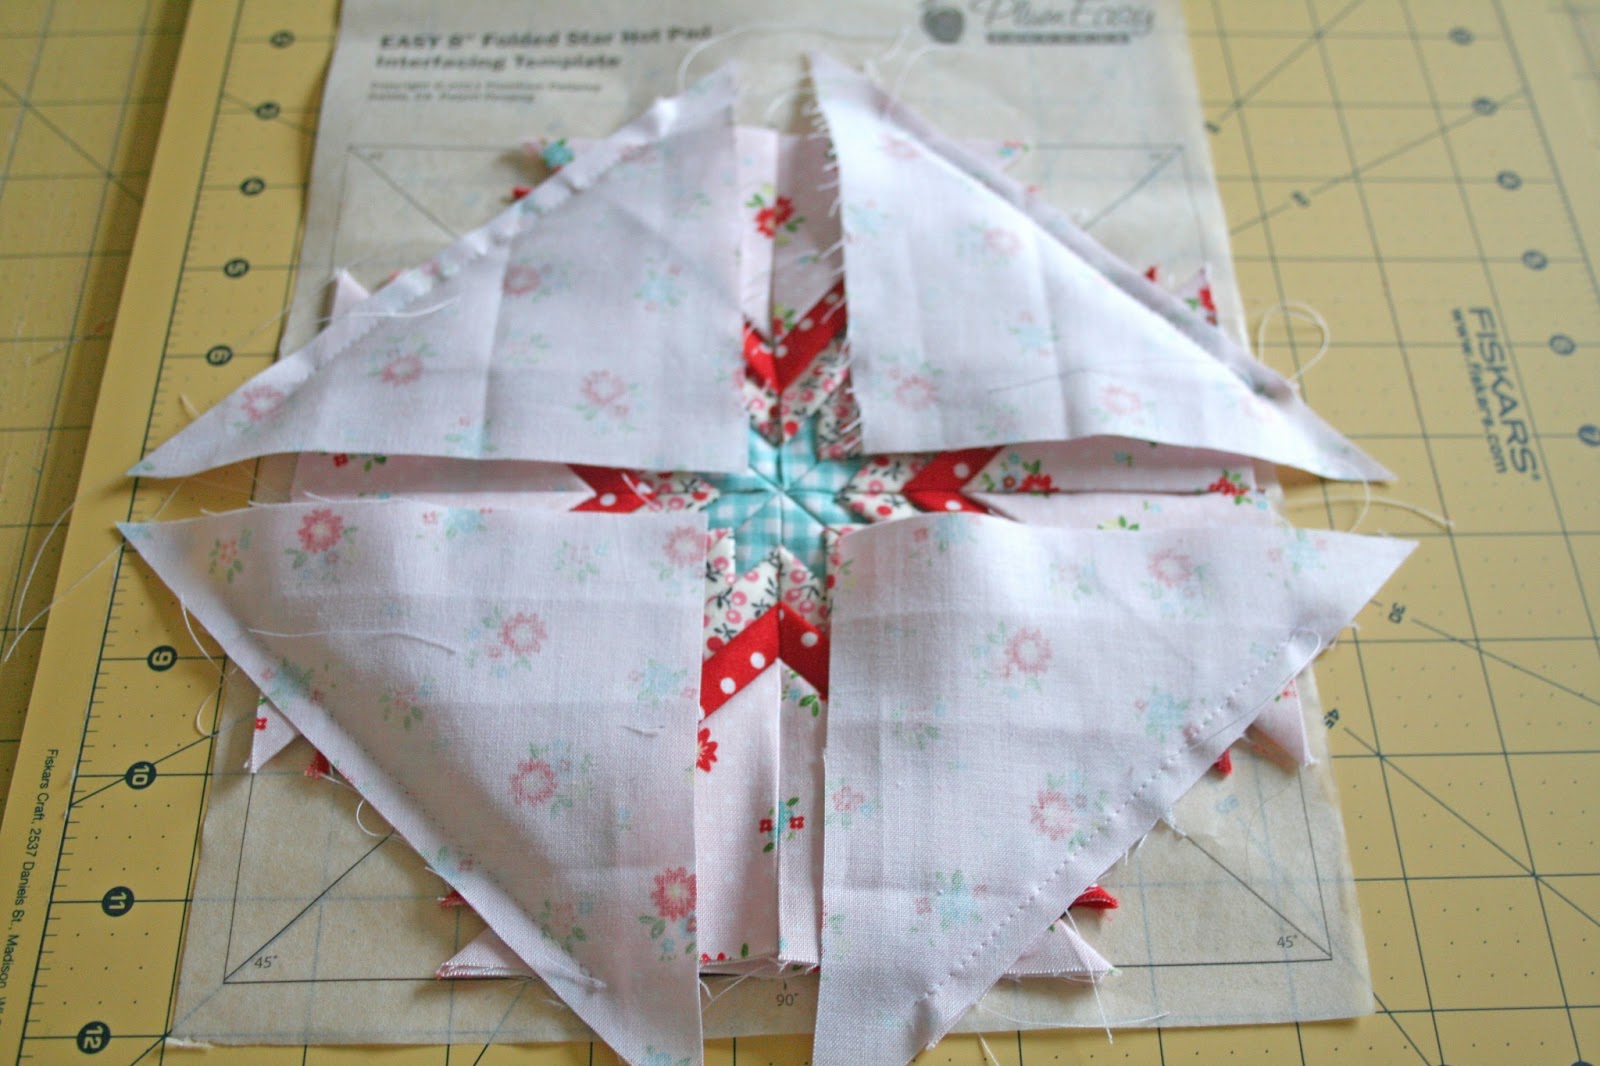
Use 4 scrap triangles larger than the corners and stitch right sides together. Then iron seams to one side as it is really thick.
Trim up your block with your rotary cutter and ruler and then you are all done!! You can now make that into a potholder or keep going and make a pillow. :)
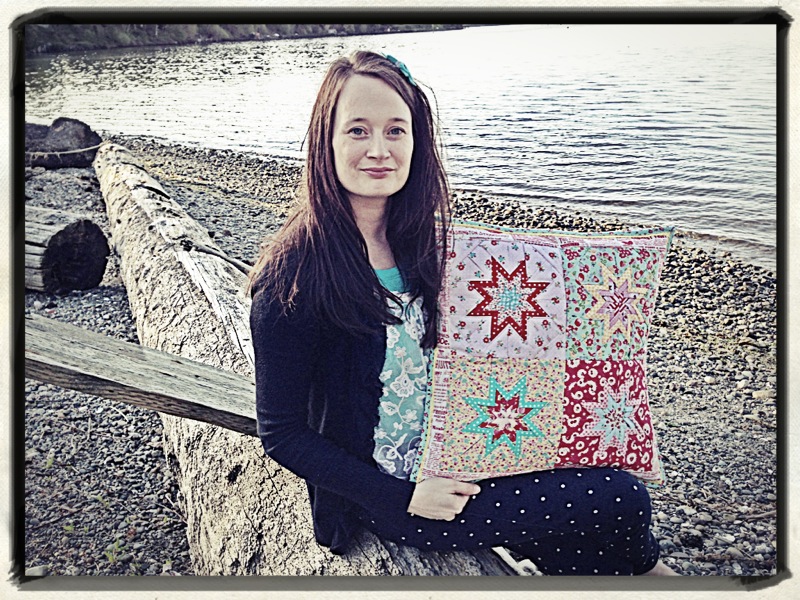
My 4 folded stars.
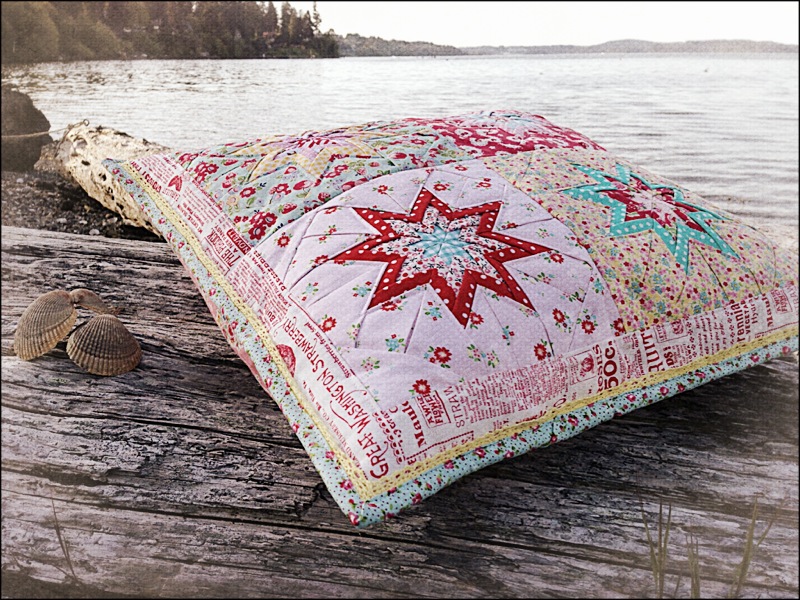
All done with my pretty pillow!! Yeah!!
I added Annie's Farm Stand, Seed Catalogue for a border, some yellow crochet trim, and Annie's Farm Stand Mini Rosie for the binding.
The back, Atusko Matsuyama's Spring Bouquets in pink & Tasha's, Little Red Riding Hoods Stripe in Red.
I quilted the pillow by top stitching around each star. This is one thick and comfy pillow! :)
I hope everyone is having a lovely Spring week!! We've had the most lovely weather and have really been enjoying it!! :)


.JPG)

.JPG)